Walkthrough 7-3: Encapsulate global elements in a separate configuration file
In this walkthrough, you refactor your apdev-examples project. You will:
· Create a new configuration file with an endpoint that uses an existing global element.
· Create a configuration file global.xml for just global elements.
· Move the existing global elements to global.xml.
· Create a new global element in global.xml and configure a new connector to use it.

Starting file
If you did not complete the previous walkthrough, you can get a starting file here. This file is also located in the solutions folder of the student files ZIP located in the Course Resources.
Create a new configuration file
1. Return to the apdev-examples project.
2. In the Package Explorer, right-click the project and select New > Mule Configuration File.
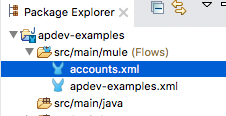
3. In the dialog box, set the name to accounts and click Finish.
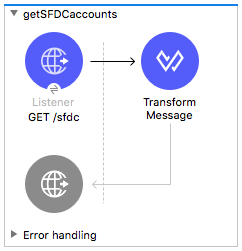
4. Drag an HTTP Listener to the canvas from the Mule Palette.
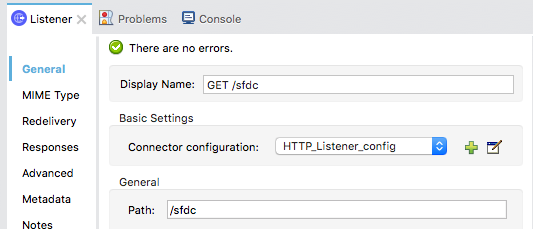
5. In the Listener properties view, set the display name to GET /sfdc.
6. Ensure the connector configuration is set to the existing HTTP_Listener_config.
7. Set the path to /sfdc and the allowed methods to GET.
8. Add a Transform Message component to the flow.
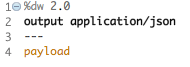
9. In the Transform Message properties view, change the output type to application/json and set the expression to payload.
10. Change the name of the flow to getSFDCaccounts.
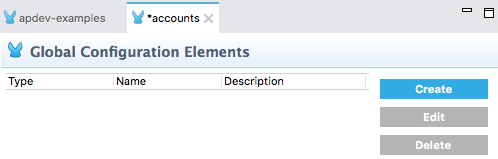
11. Switch to the Global Elements view; you should not see any global elements.
Create a global configuration file
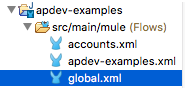
12. Create a new Mule configuration file called global.xml.
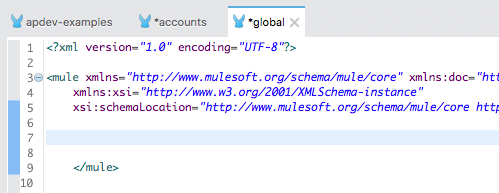
13. In global.xml, switch to the Configuration XML view.
14. Place some empty lines between the start and end mule tags.
Move the existing global elements to the new global configuration file
15. Return to apdev-examples.xml.
16. Switch to the Global Elements view and see there are three configurations.
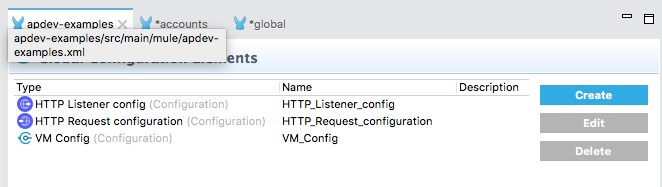
17. Switch to the Configuration XML view.
18. Select and cut the three configuration elements defined before the flows.

Note: If you delete the global elements from the Global Elements view instead, the config-ref values are also removed from the connector operations and you need to re-add them.
19. Return to the Message Flow view.
20. Return to global.xml.
21. Paste the global elements you cut to the clipboard between the start and end mule tags.
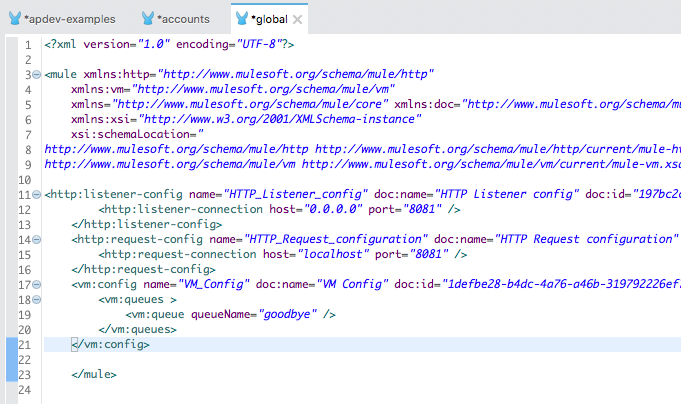
Note: If you are prompted to regenerate ID values, click Yes.
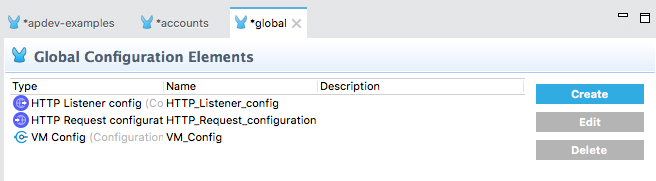
22. Switch to the Global Elements view; you should see the three configurations.
Test the application
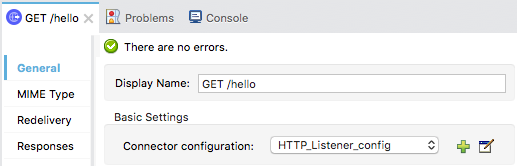
23. Return to apdev-examples.xml.
24. Select the GET /hello HTTP Listener in helloFlow; the connector configuration should still be set to HTTP_Listener_config, which is now defined in global.xml.
25. Run the project.
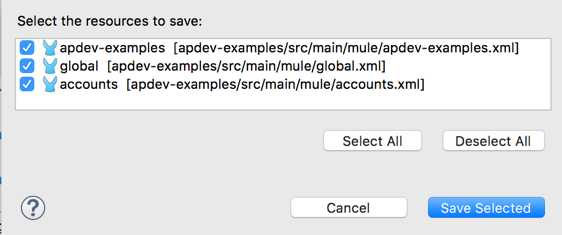
26. In the dialog box, ensure all the resources are selected and click Save Selected.
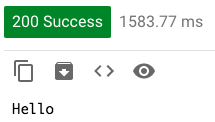
27. In Advanced REST Client, send the same request; you should still get a response of Hello.
Create a new global element for the Salesforce component in global.xml
28. Return to apdev-examples.xml.
29. In the Mule Palette, select Add Modules.
30. Select the Salesforce connector in the right side of the Mule Palette and drag and drop it into the left side.
31. Locate the new set of Salesforce JAR files in the project.
32. Return to global.xml.
33. In the Global Elements view, click Create.
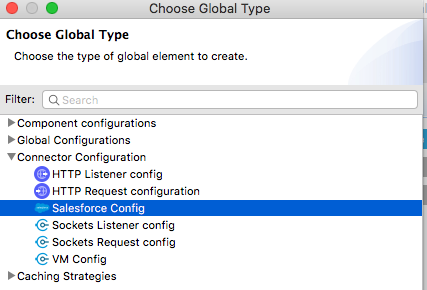
34. In the Choose Global Type dialog box, select Connector Configuration > Salesforce Config and click OK.
35. In the Global Element Properties dialog box, locate the Connection section and enter your Salesforce username, password, and security token.
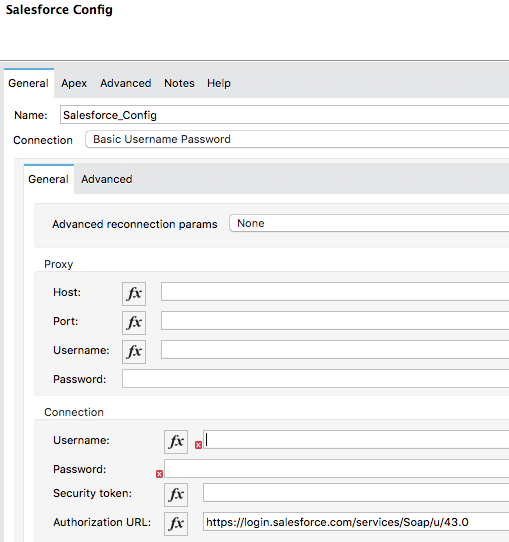
36. Click Test Connection; your connection should be successful.
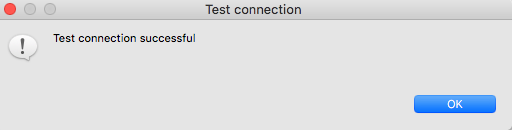
37. In the Test connection dialog box, click OK.
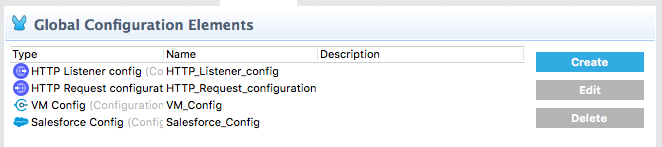
38. In the Global Element Properties dialog box, click OK; you should now see the new configuration in global.xml.
Add a new Salesforce operation that uses the global configuration
39. Return to the Message Flow view in accounts.xml.
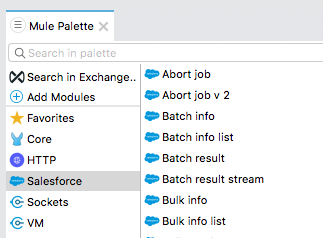
40. In the Mule Palette, select Salesforce.
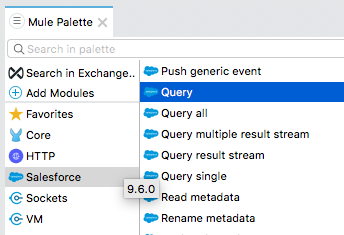
41. Locate the Query operation in the right side of the Mule Palette and drag and drop it before the Transform Message component in getSFDCaccounts.
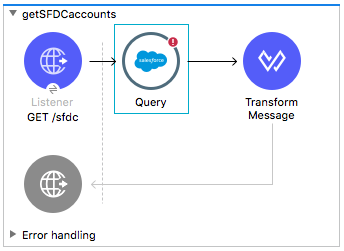
42. In the Query properties view, set the display name to Account.
43. Ensure the connector configuration is set to the existing Salesforce_Config.
44. Return to the course snippets.txt file and copy the Salesforce query.
45. Return to Anypoint Studio and paste the query in the Salesforce query section of the Query properties view.

Test the application
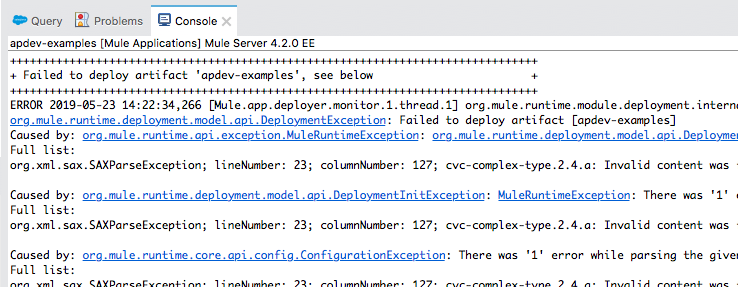
46. Save all the files; you should get a number of invalid content errors in the console.
47. Stop the project.
48. Run the project; the application should successfully deploy.
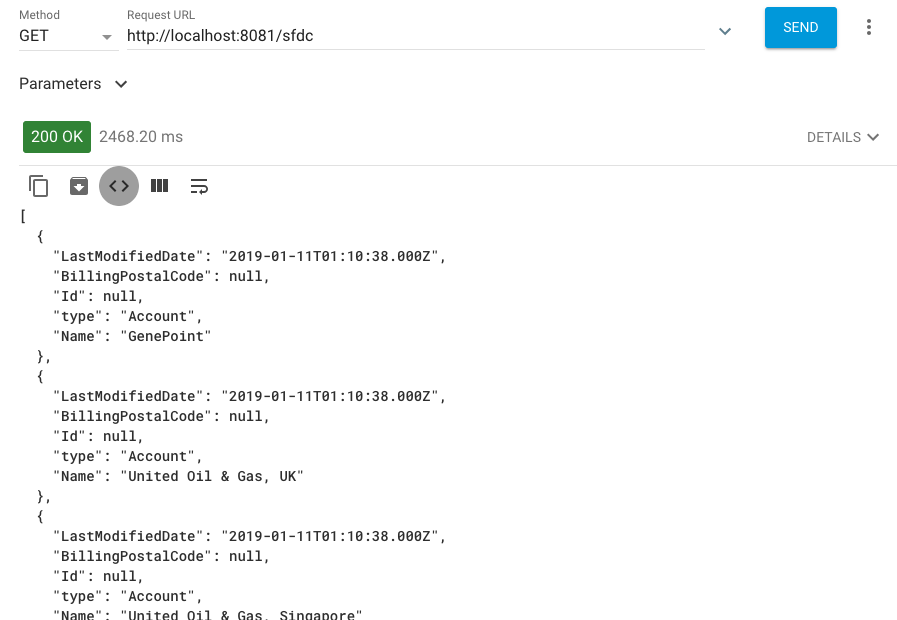
49. In Advanced REST Client, send a request to http://localhost:8081/sfdc; you should get a list of the accounts in your Salesforce account.